
Wholesome Beginnings: A Guide to Homemade Baby Food for Healthy Growth
Homemade baby food offers a nutritious, cost-effective, and customizable way to introduce babies to solid foods while promoting healthy eating habits. Here’s a guide to making homemade baby food and its benefits for baby care:
1. Benefits of Homemade Baby Food
- Nutritional Control: Homemade food allows parents to control ingredients and ensure high-quality nutrition without additives, preservatives, or excess sugar and salt.
- Cost-Effective: Making baby food at home is often cheaper than purchasing pre-packaged options.
- Flavor Customization: Parents can introduce a wide variety of flavors and textures, which helps babies develop an adventurous palate early on.
2. When to Start Solid Foods
- Signs of Readiness: Most babies show signs of readiness for solid foods around 6 months. Signs include being able to sit up with support, showing interest in food, and the ability to swallow rather than push food out.
- Consulting a Pediatrician: Always consult your pediatrician before starting solids, especially if there is a history of allergies in the family.
3. Essential Equipment
- Blender or Food Processor: Essential for pureeing foods to the right consistency.
- Steamer or Steaming Basket: Steaming preserves nutrients and softens foods without losing flavor.
- Ice Cube Trays: Perfect for freezing portions of baby food, so you can make larger batches and thaw as needed.
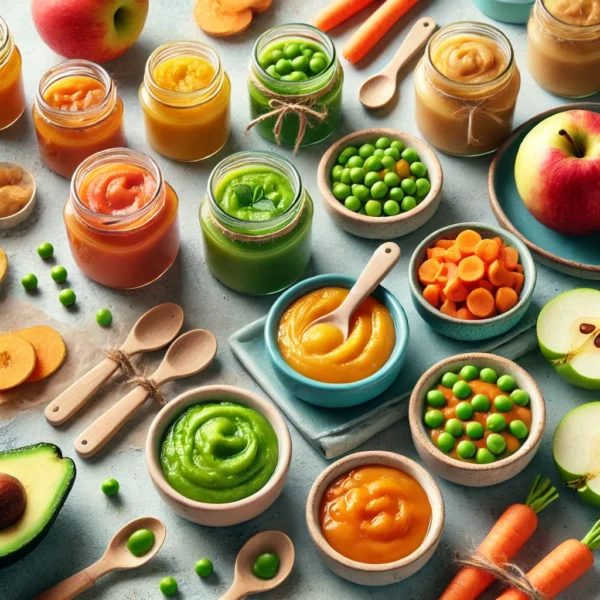
4. Basic Food Options for Each Stage
- Stage 1 (4–6 months): Single-ingredient purees, such as mashed sweet potatoes, peas, carrots, apples, or pears. These foods should be thin and smooth for easy swallowing.
- Stage 2 (7–8 months): Thicker purees with two or three ingredients, like banana and avocado or carrots and peas. Babies are beginning to handle new textures at this stage.
- Stage 3 (9–12 months): Chunkier foods that encourage chewing, like small pieces of soft-cooked vegetables, tiny pasta, and mashed fruits.
5. Recipes for Homemade Baby Food
- Single-Vegetable Puree: Steam carrots, sweet potatoes, or peas until soft, then blend with a little water or breast milk/formula for a smooth consistency.
- Fruit Puree: Mash or blend fruits like apples, pears, or bananas. You can steam tougher fruits like apples to soften them before pureeing.
- Mixed Vegetable Medley: Combine mild vegetables, like carrots and zucchini, steam until tender, and blend into a thicker puree.
6. Storage and Safety Tips
- Freeze in Small Portions: After blending, pour purees into ice cube trays. Once frozen, transfer cubes to freezer bags and label them. This makes it easy to thaw small amounts as needed.
- Thawing and Reheating: Thaw baby food in the refrigerator or warm it in a bowl of warm water. Avoid microwaving, as it can create hot spots.
- Safe Storage Times: Fresh baby food can be stored in the fridge for up to 3 days or in the freezer for 1–3 months.
7. Introducing New Foods and Watching for Allergies
- One Food at a Time: Introduce one new food every 3–5 days to monitor for allergies or intolerances.
- Allergy Signs: Watch for reactions such as rash, diarrhea, or vomiting. If these occur, consult a pediatrician.
8. Transitioning to Finger Foods
- As your baby becomes comfortable with purees, begin to introduce soft finger foods, like small pieces of banana, avocado, or well-cooked vegetables. This helps with motor skill development and prepares them for table foods.
Conclusion
Making homemade baby food can be a rewarding and beneficial practice for both baby and caregiver. By preparing your baby’s food at home, you have complete control over what goes into their diet, ensuring they receive wholesome, natural ingredients that support their growth and development.


